OVOS Localize Tutorial
This guide is for first-time contributors who want to translate OVOS skills.
Goal
By the end of this tutorial, you will know how to:
- Set your languages
- Change languages later from the top-right menu
- Choose a skill that needs help
- Open the translation editor
- Submit your contribution
Before You Start
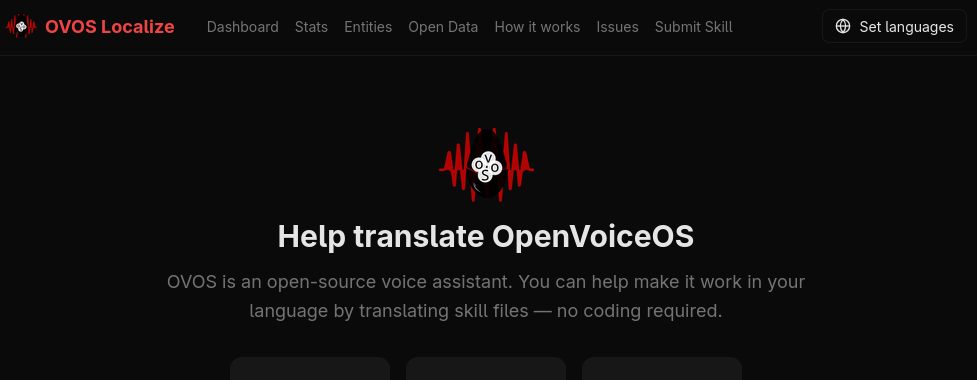
- Open the live platform in your browser
- You do not need coding experience
- You should have a GitHub account (needed when submitting your translation)
Scenario 1: First Setup (Choose Your Languages)
Click the top-right Set languages button to choose your language before starting.
- Open OVOS Localize.
- Click the Set languages button in the top-right corner of the header.
- Select one or more languages you can translate.
- Click save/continue.
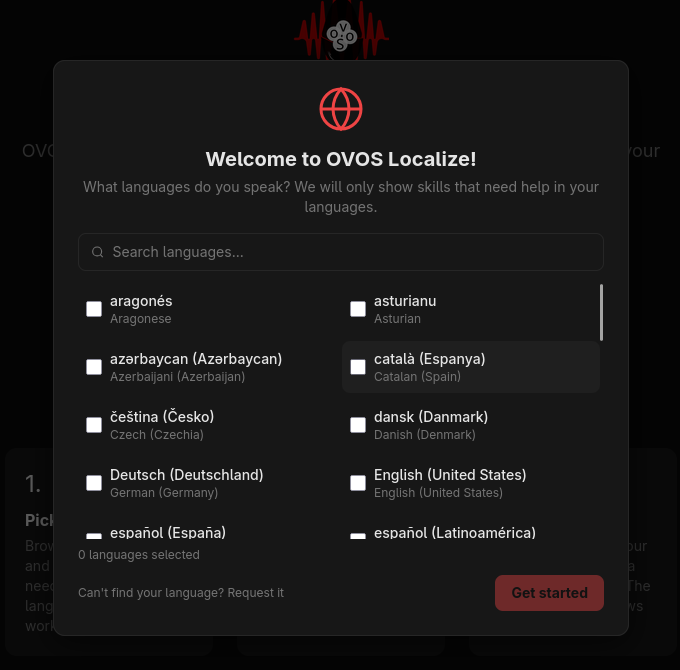
Choose the language(s) you know.
Scenario 2: Change Languages Later (Top Right)
- In the header, click the top-right button labeled
Set languages. - Search for a language in the search box.
- Check or uncheck languages.
- Save changes.
Scenario 3: Choose a Skill
- Go to the
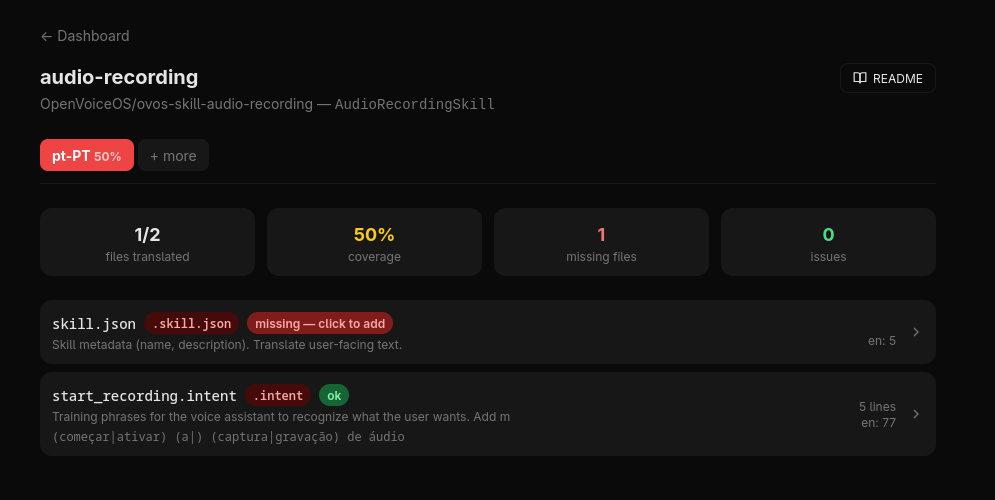
Dashboardpage. - Use
Search skills...to find a specific skill, or browse cards. - Pick a skill card.
- Click a language badge on that card (for example
pt-PT).

Tip: Red badges usually indicate the language needs more translation work.
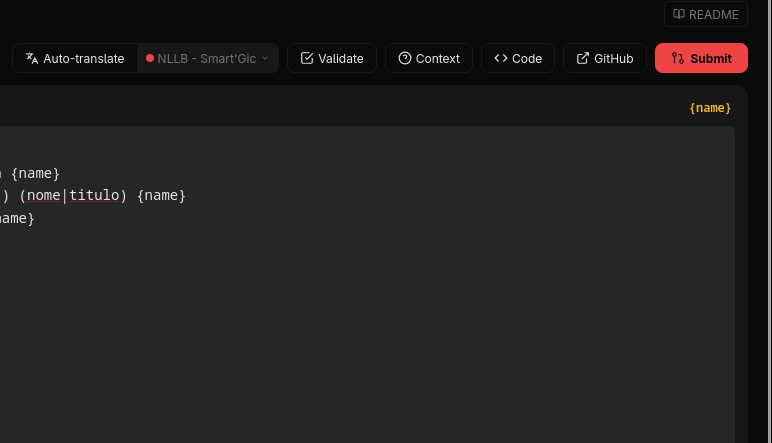
Scenario 4: Open the Editor and Translate
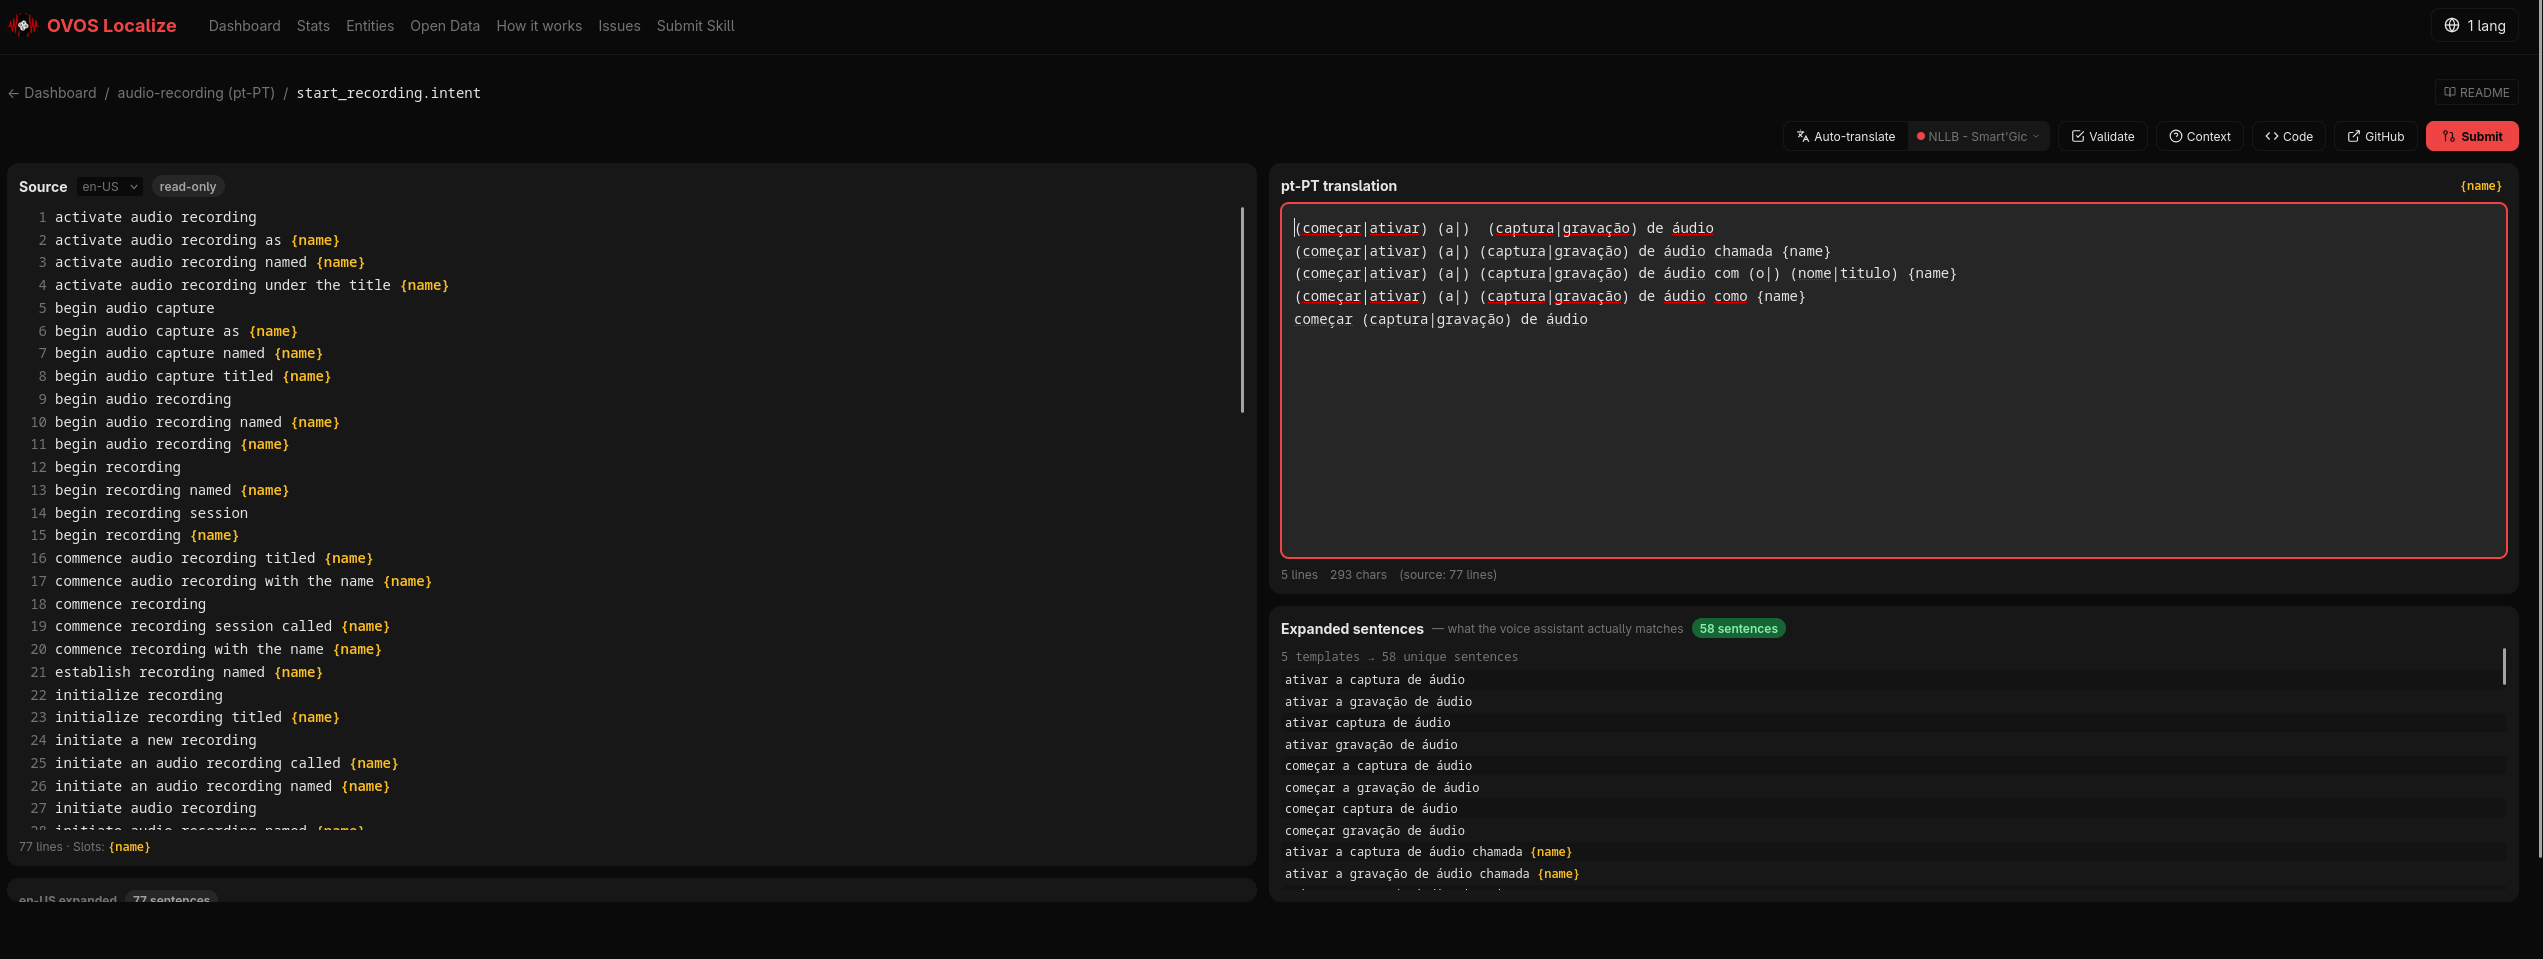
- After choosing a skill and language, the editor opens.
- Read the English source text on the left.
- Write your translation in the center editor.
- Use the context panel on the right to understand usage.
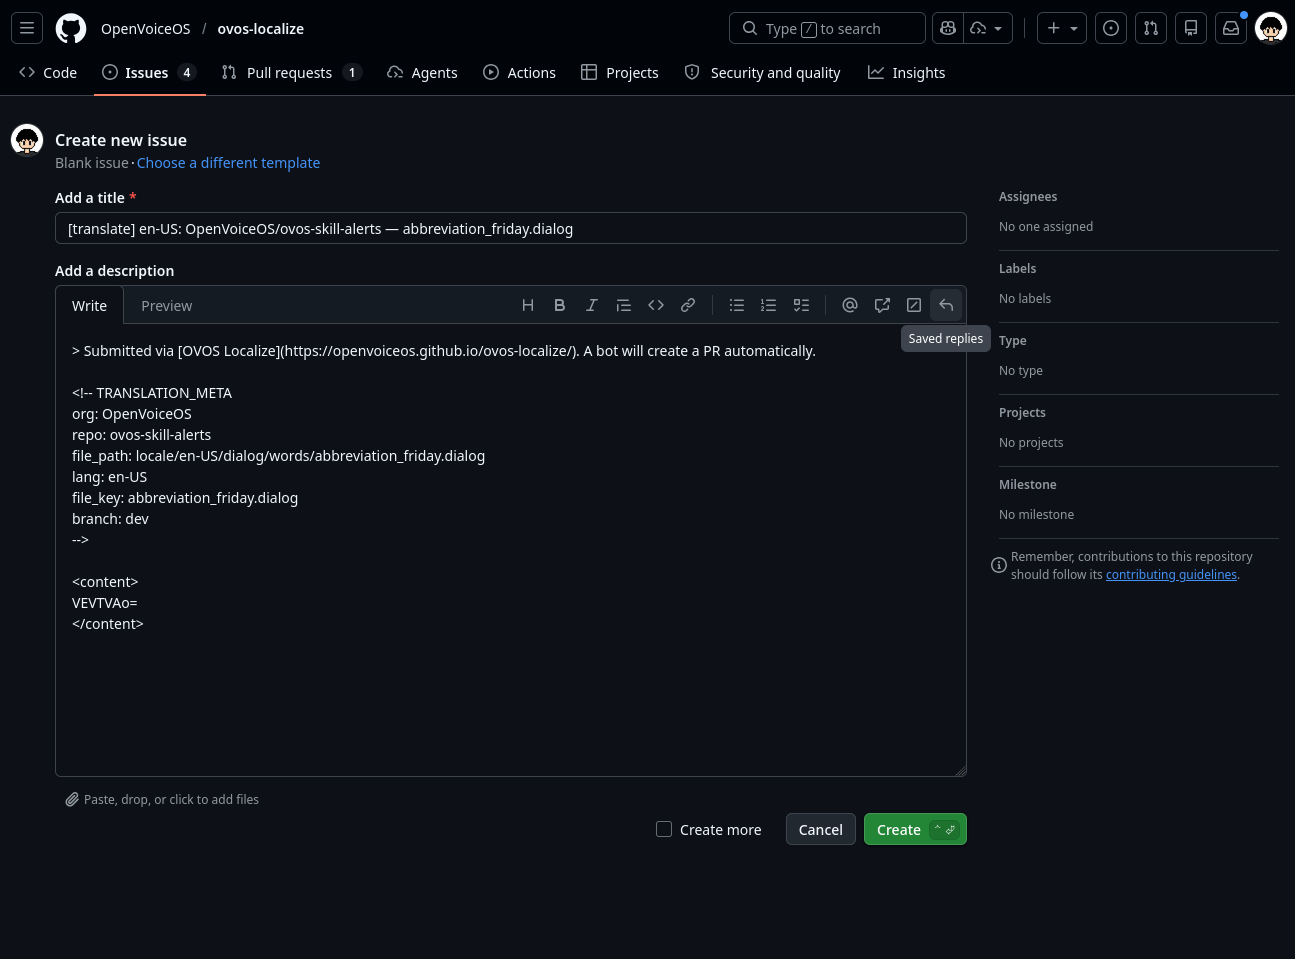
Scenario 5: Submit Your Translation
- Click the submit button in the editor.
- A GitHub issue page opens with pre-filled data.
- Click
Submit new issueon GitHub. - Automation creates a pull request for maintainers to review.
Quality Checklist
- Keep placeholders like
{name}exactly unchanged. - Preserve line meaning from source.
- Keep punctuation and formatting where required.
- For
.vocfiles, keep terms concise. - For
.dialogfiles, write natural spoken language.
Common Problems
I cannot find my language
- In the language modal, click
Can't find your language? Request it. - Submit the request form.
I selected the wrong language
- Click
Set languagesin the top-right header and update your selection.
I am not sure what a line means
- Use the right-side context panel in the editor.
- Open the skill README when available.
Quick Path (30 Seconds)
- Click
Set languages - Choose your language
- Open
Dashboard - Choose a skill card and language badge
- Translate lines
- Submit on GitHub